Follow this step-by-step tutorial to generate your Notion Internal Integration Token and authorize access for One-Click Save to Notion.
Connecting the extension to your Notion workspace requires three main steps:
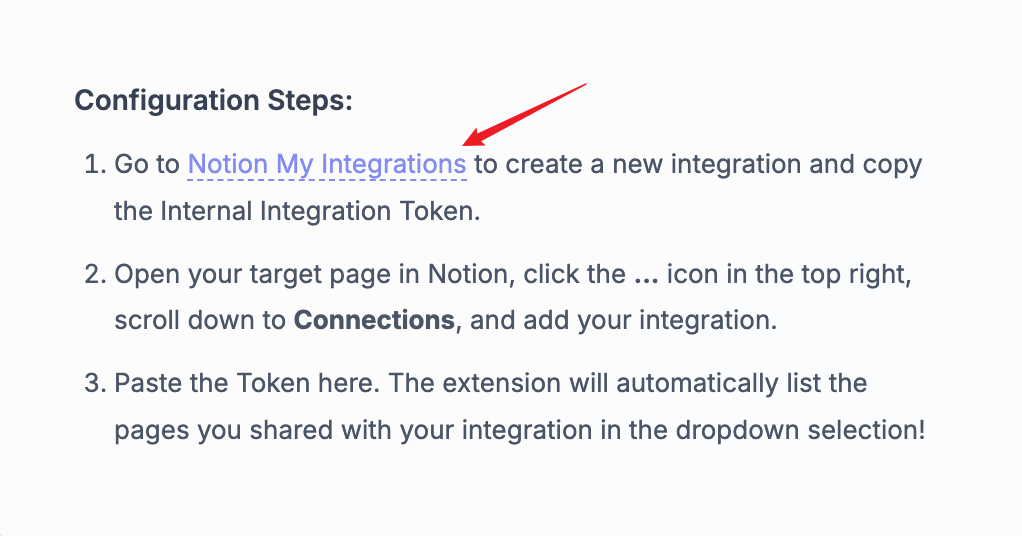
1. Go to Notion My Integrations to create a new integration and copy the Internal Integration Token.
2. Open your target page in Notion, click the ... icon in the top right, scroll down to Connections, and add your integration.
3. Paste the Token in the extension options page. The extension will automatically load pages shared with your integration!
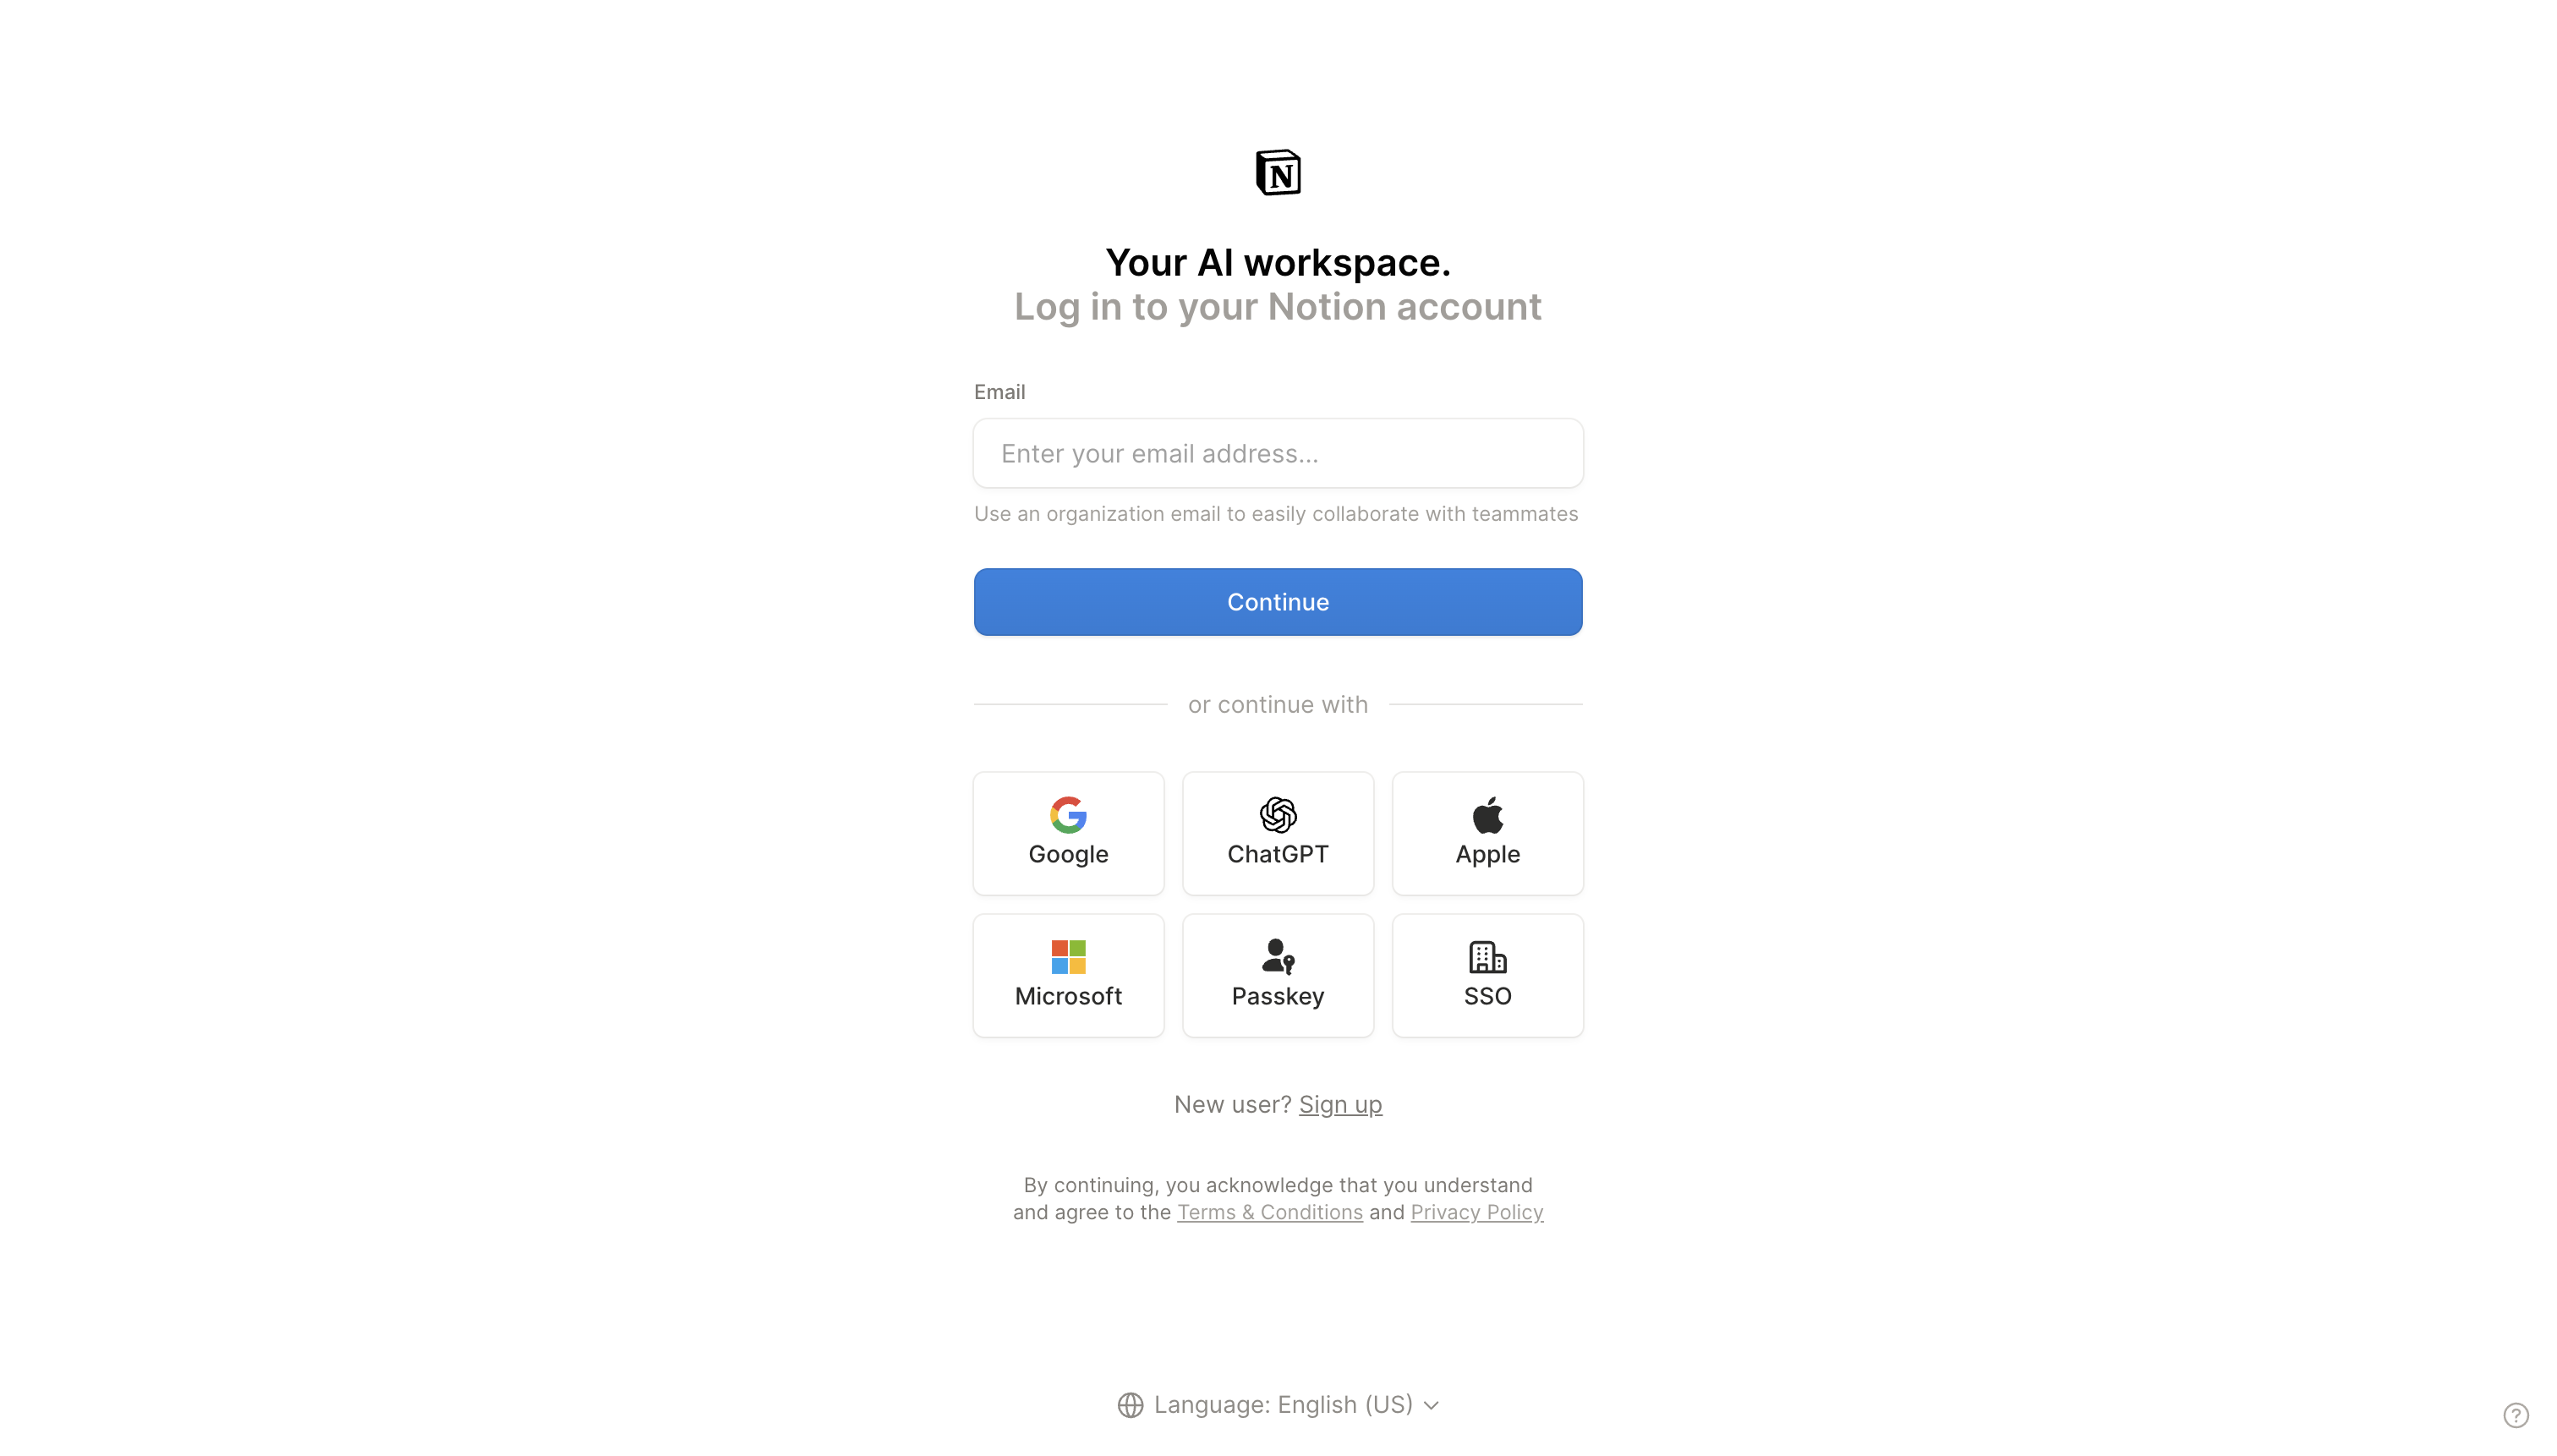
Visit the official Notion integrations portal at www.notion.so/my-integrations. Log in with the Notion account that owns or manages your target workspace.
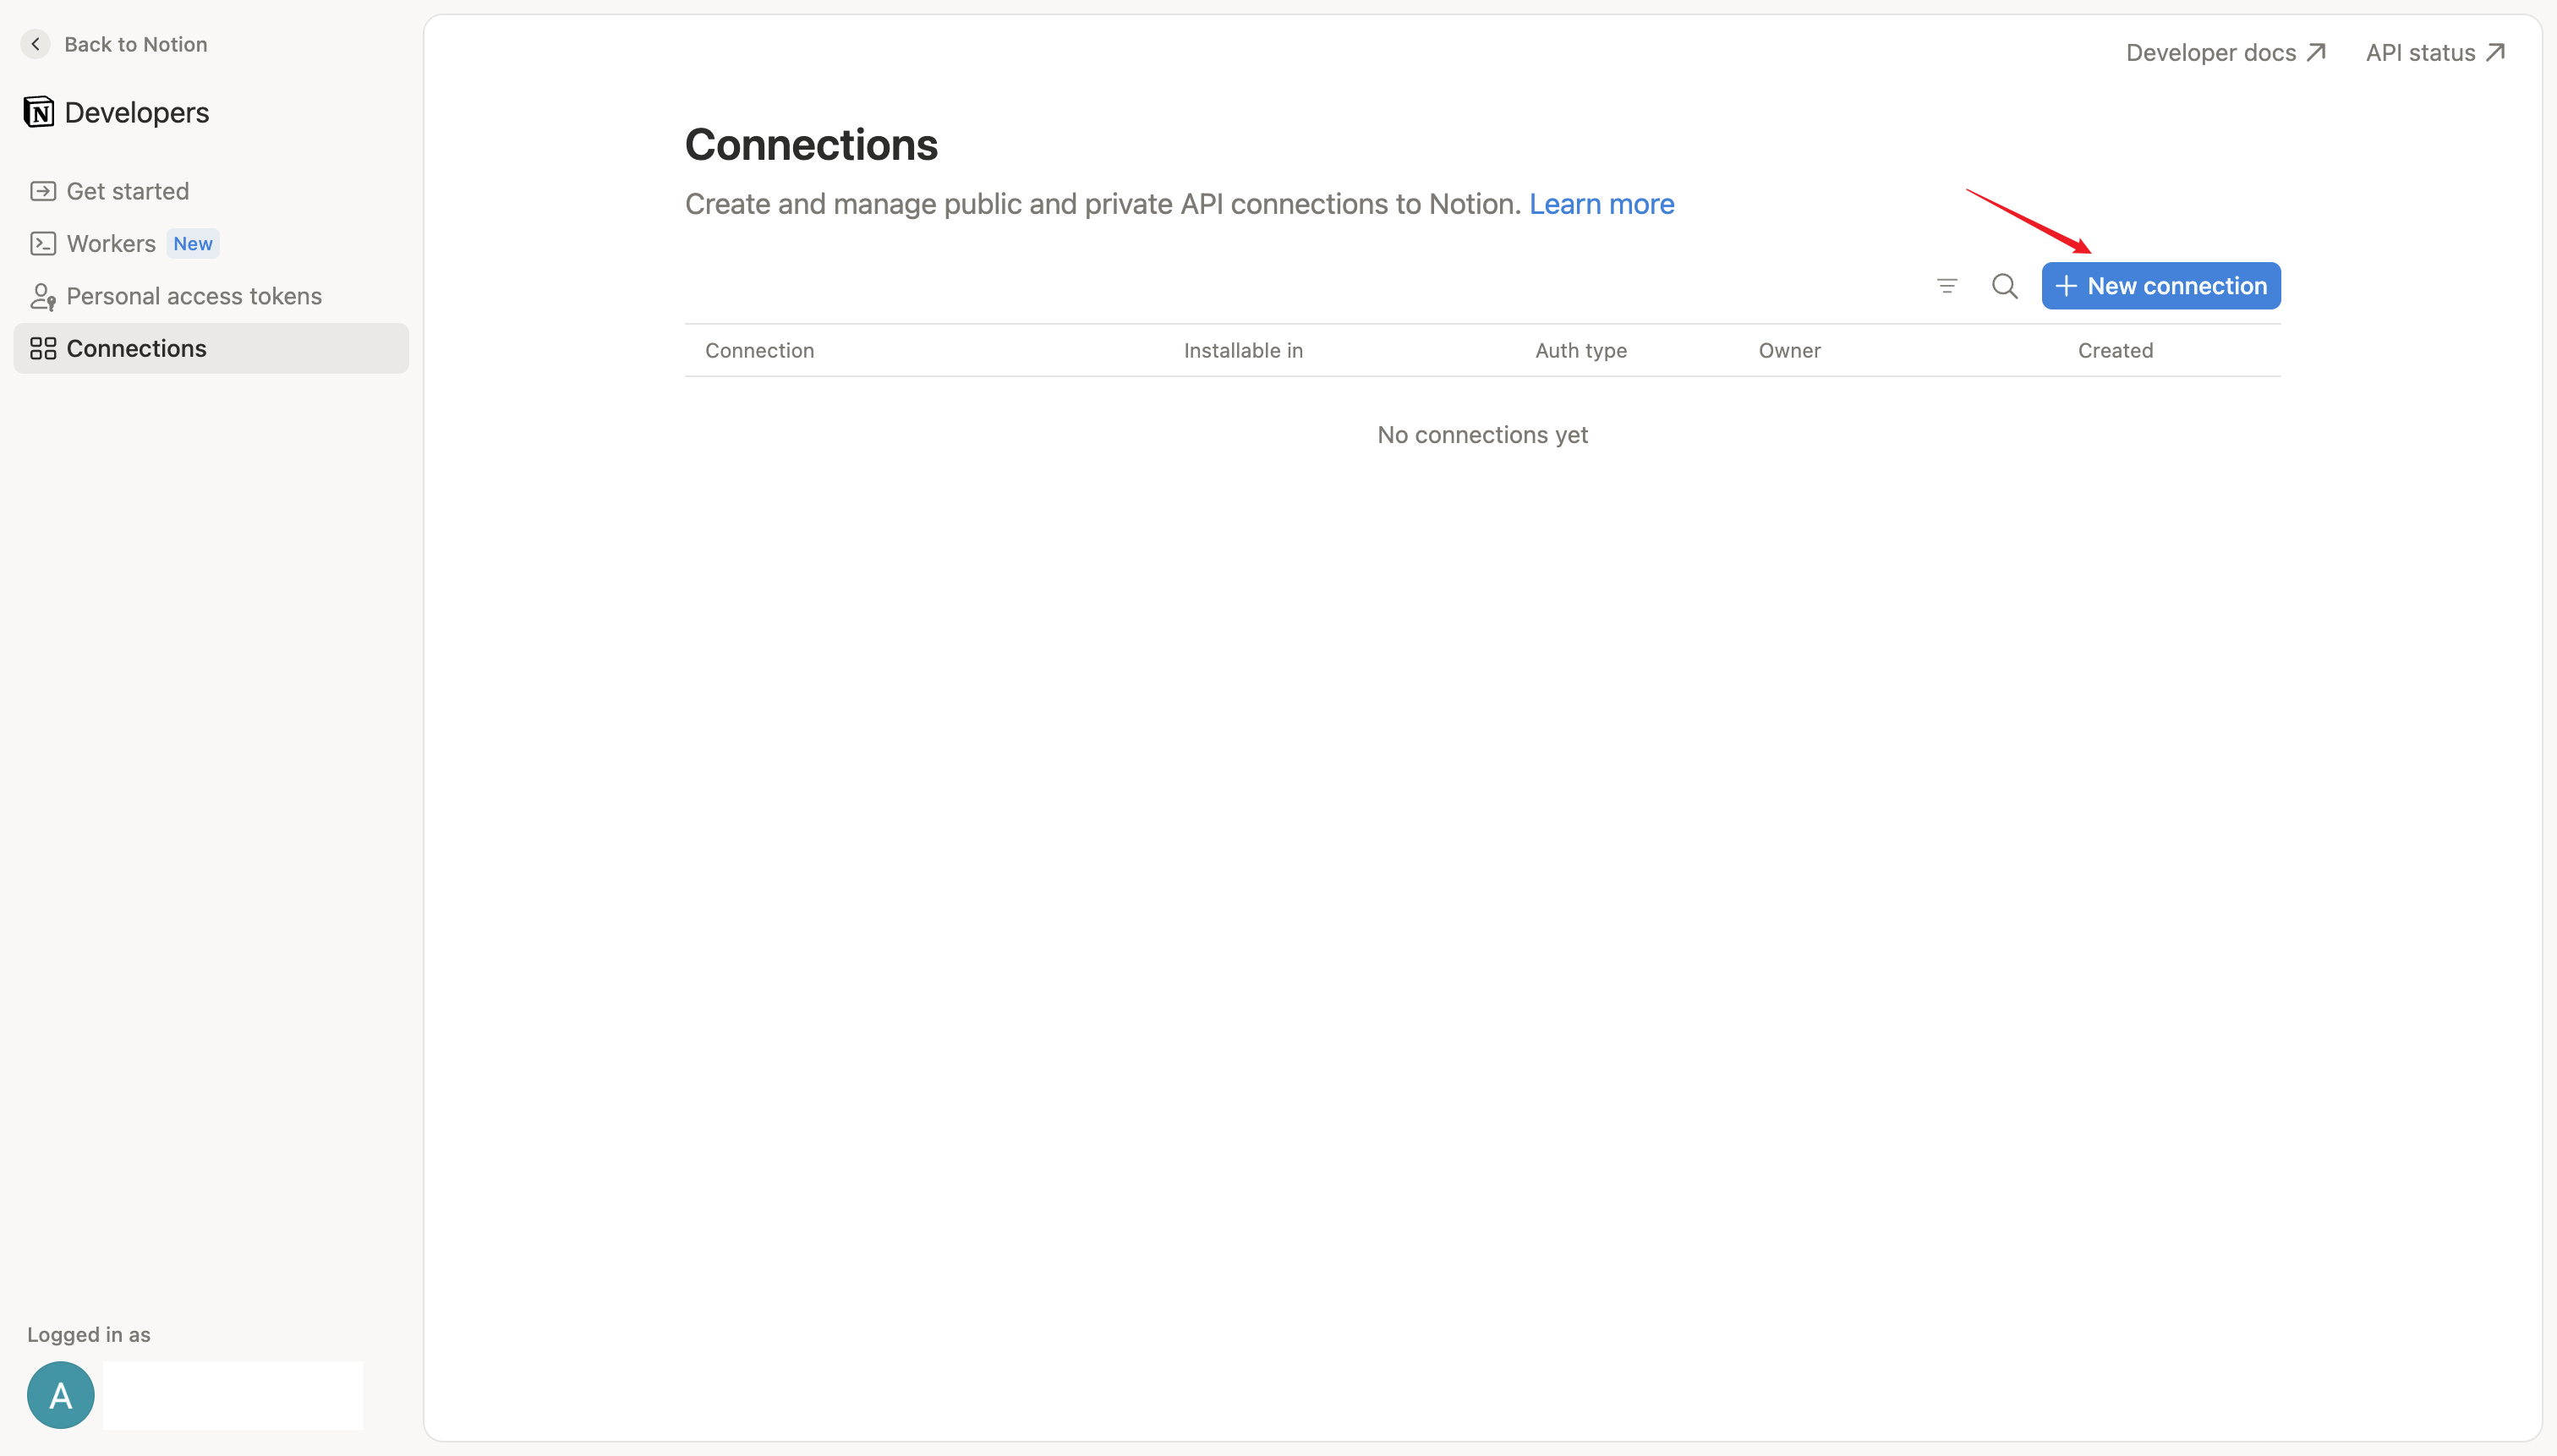
Once logged into the Notion Developers portal, select Connections in the left sidebar menu, then click the blue "+ New connection" button in the top right corner.
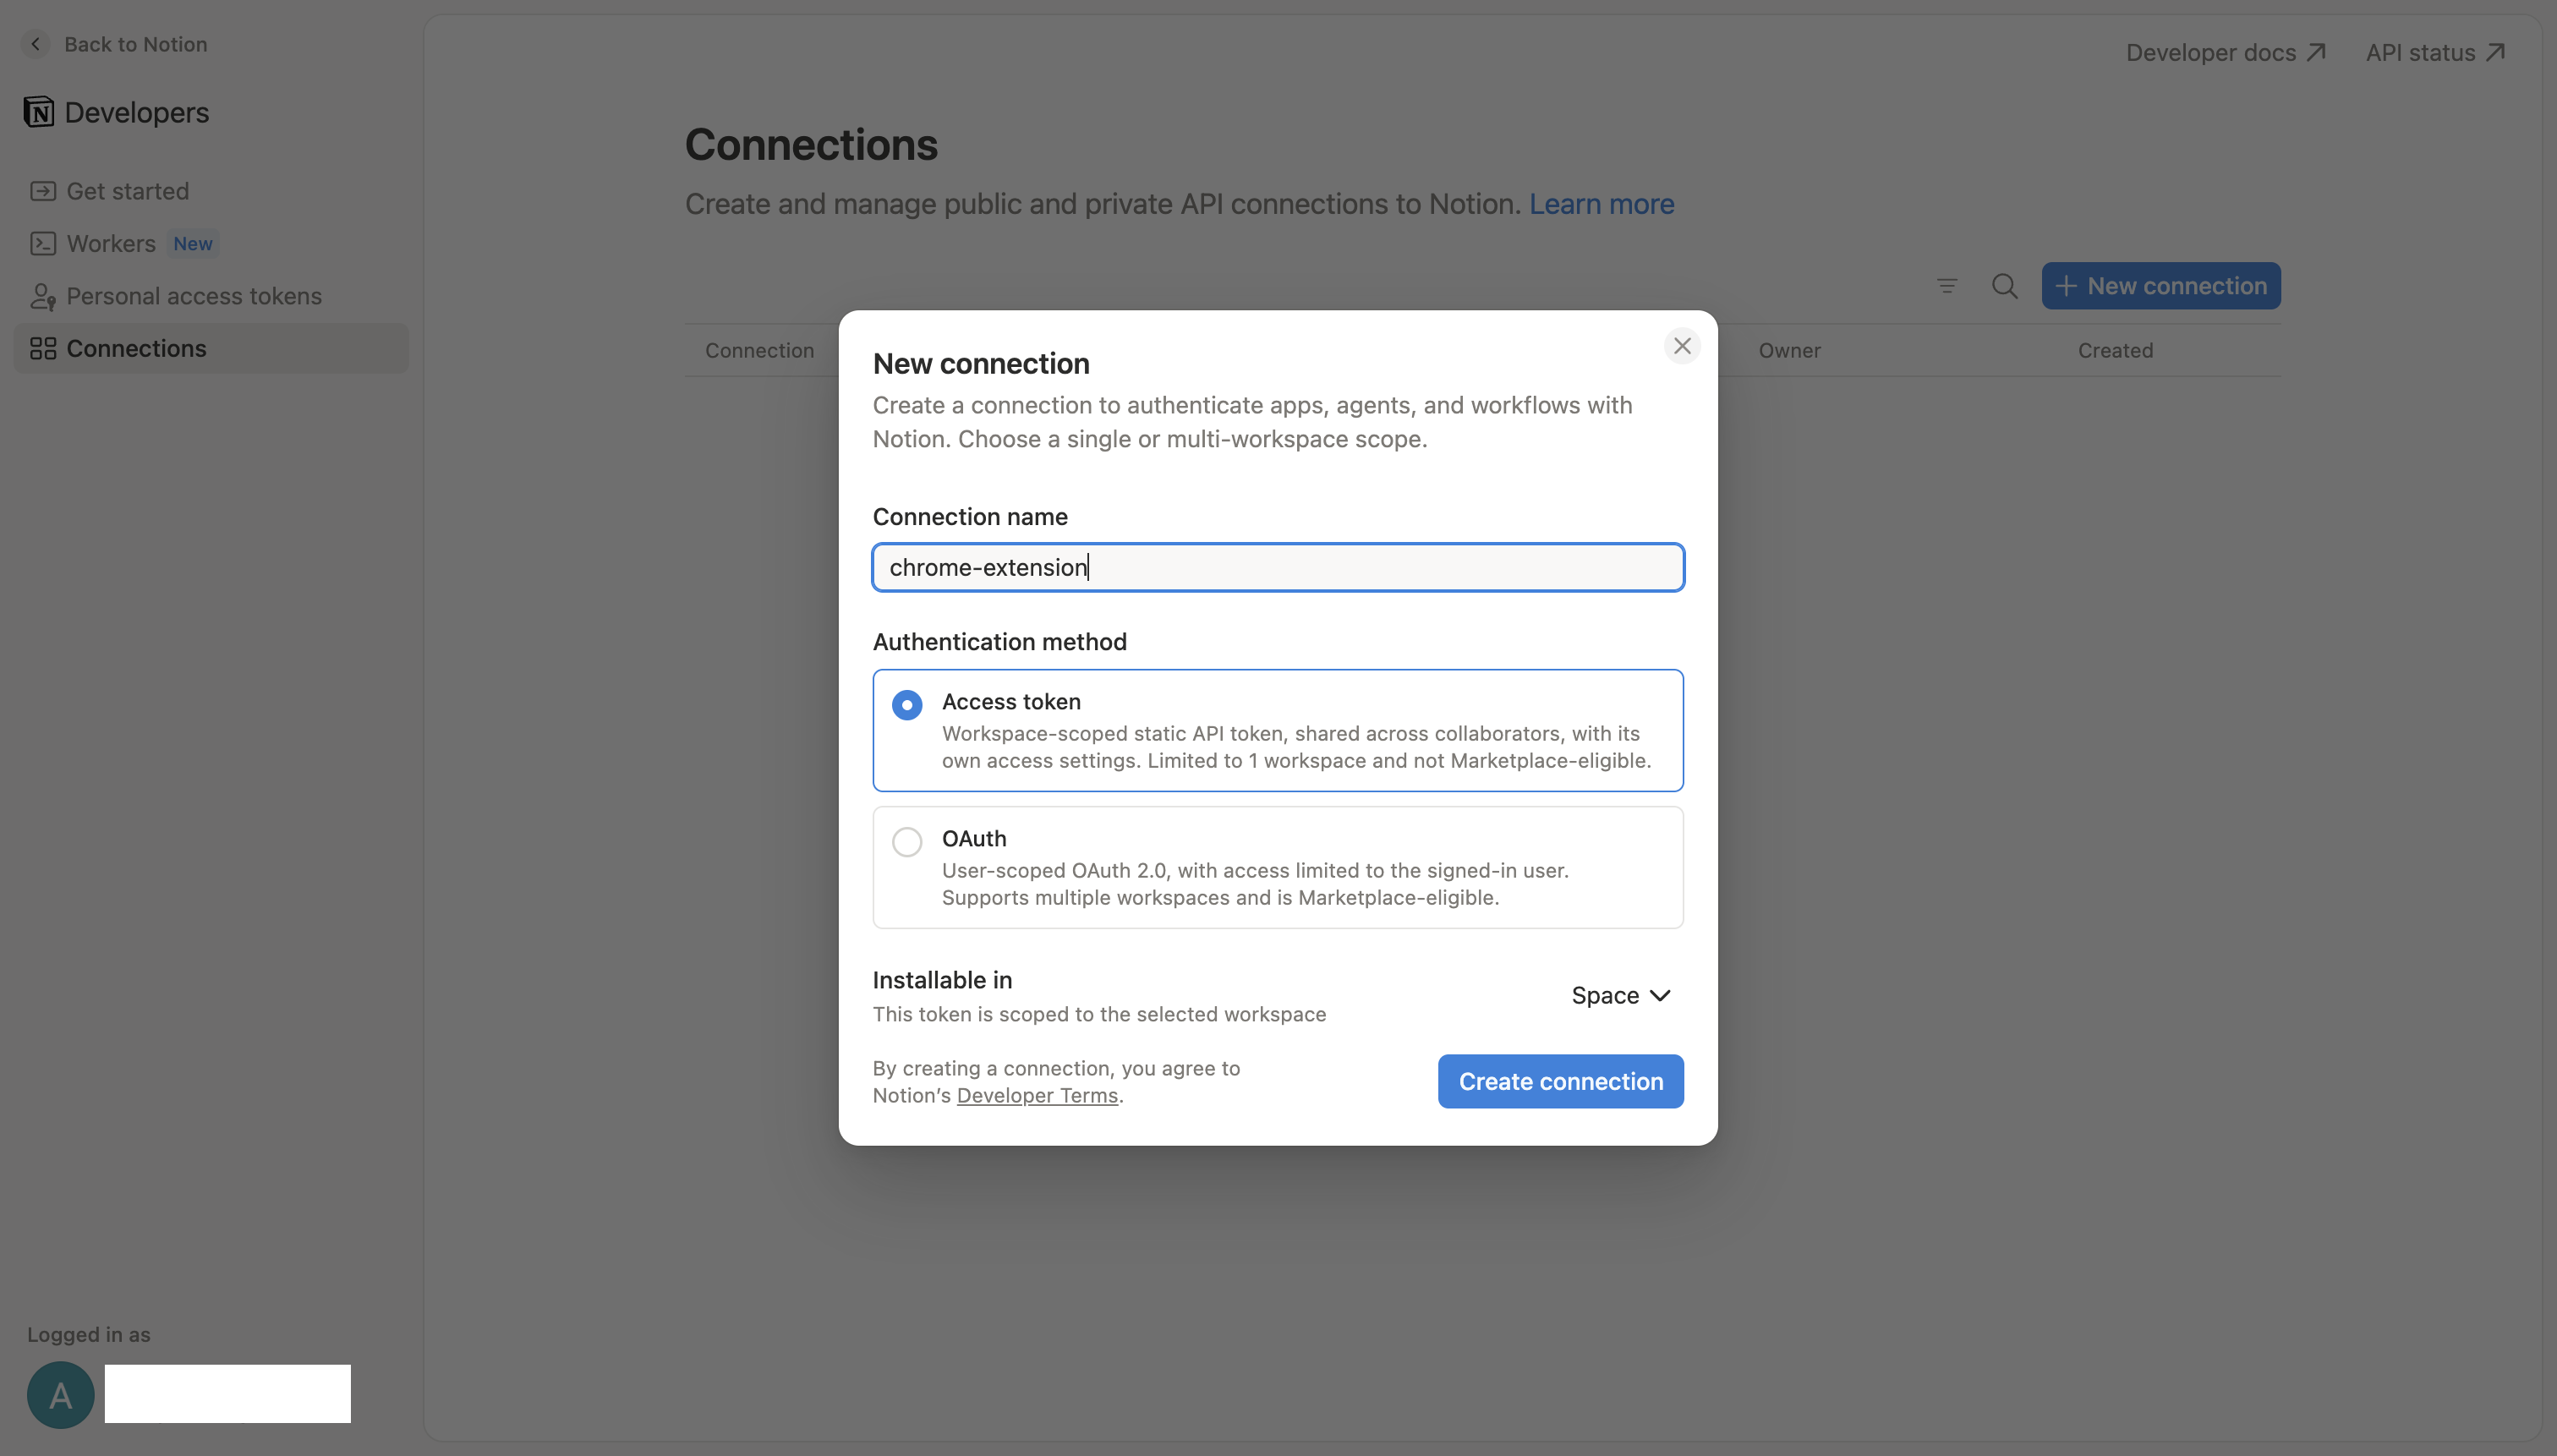
In the modal window that appears, fill out the required integration parameters:
• Connection name: Enter a recognizable name (e.g. chrome-extension or One-Click Save).
• Authentication method: Select Access token (Workspace-scoped static API token).
• Installable in: Choose your target Notion Workspace/Space.
Click "Create connection" when finished.
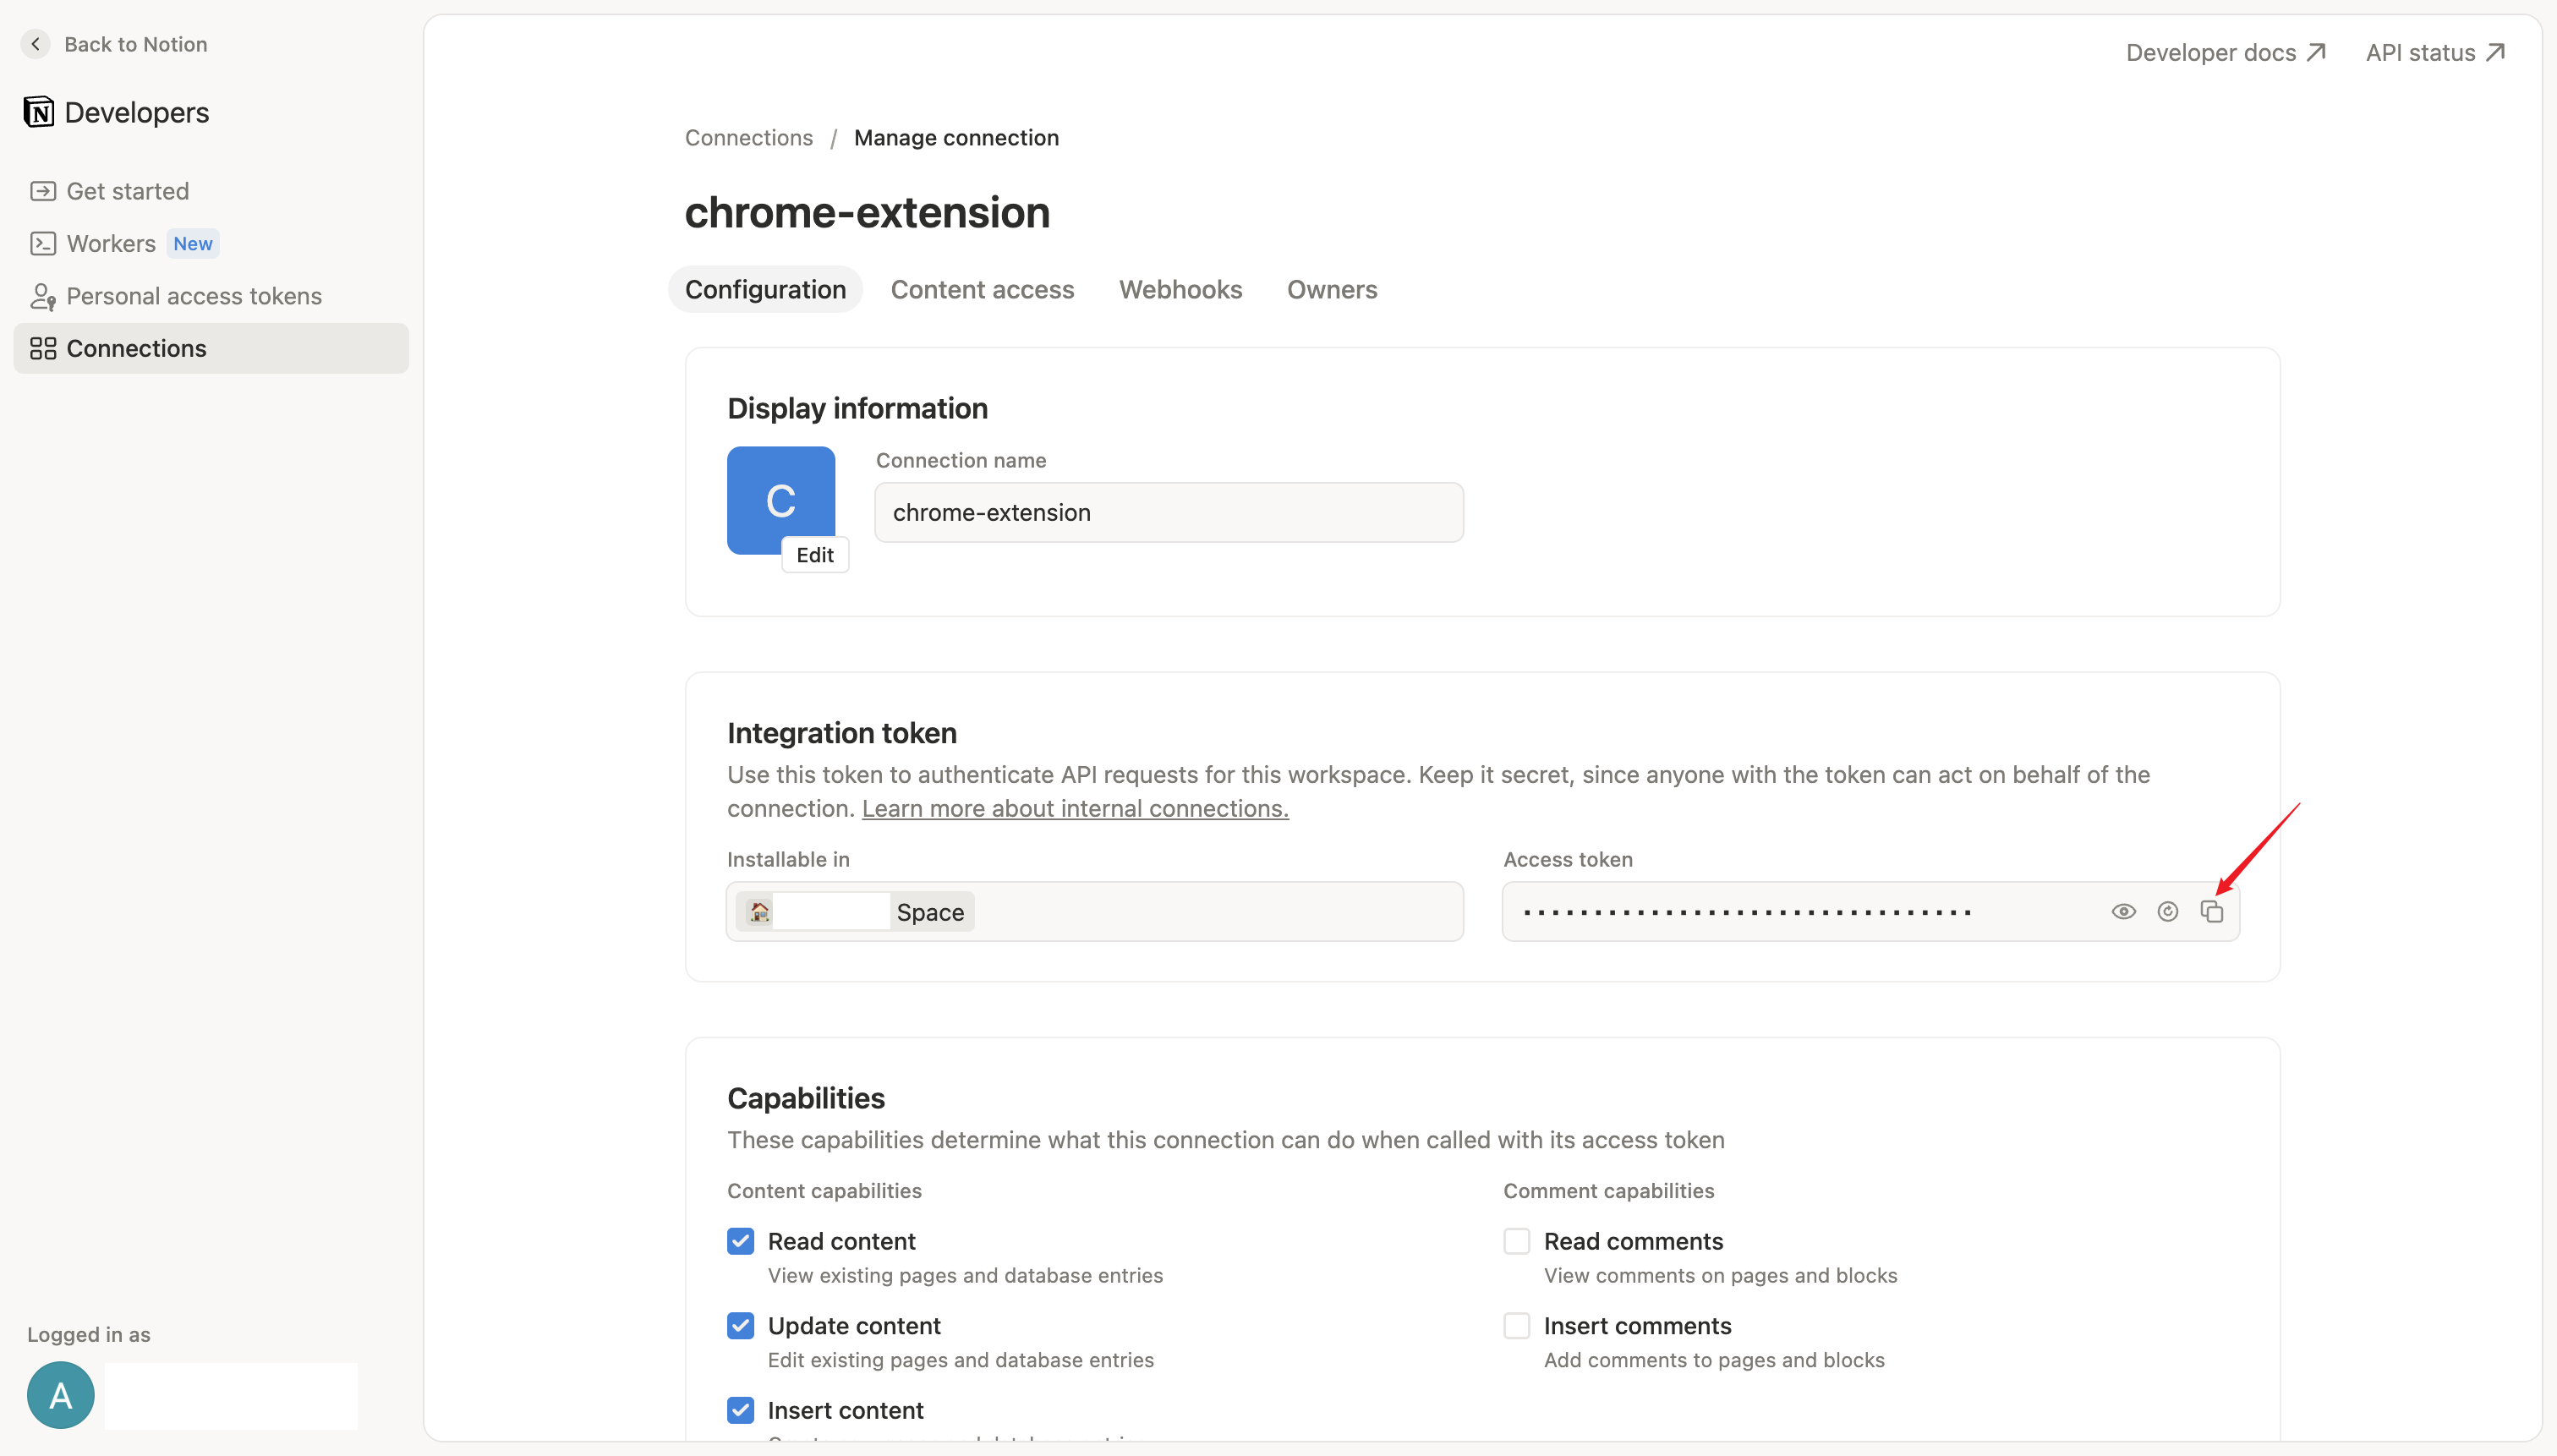
After creating the connection, you will land on the connection details page under the Configuration tab. Locate the Integration token section and click the copy icon next to the masked token. The token string starts with secret_.
Switch to the Content access tab and click "+ Add pages & databases" to select the Notion pages or databases you want to save bookmarks into (e.g. Read it later).
Alternatively, you can open your target page directly inside Notion, click the top right ... menu, navigate to Connections, and add your integration.
Finally, paste the copied token into the Notion Internal Integration Token input box in the extension settings page, click Test Connection, and save your settings!
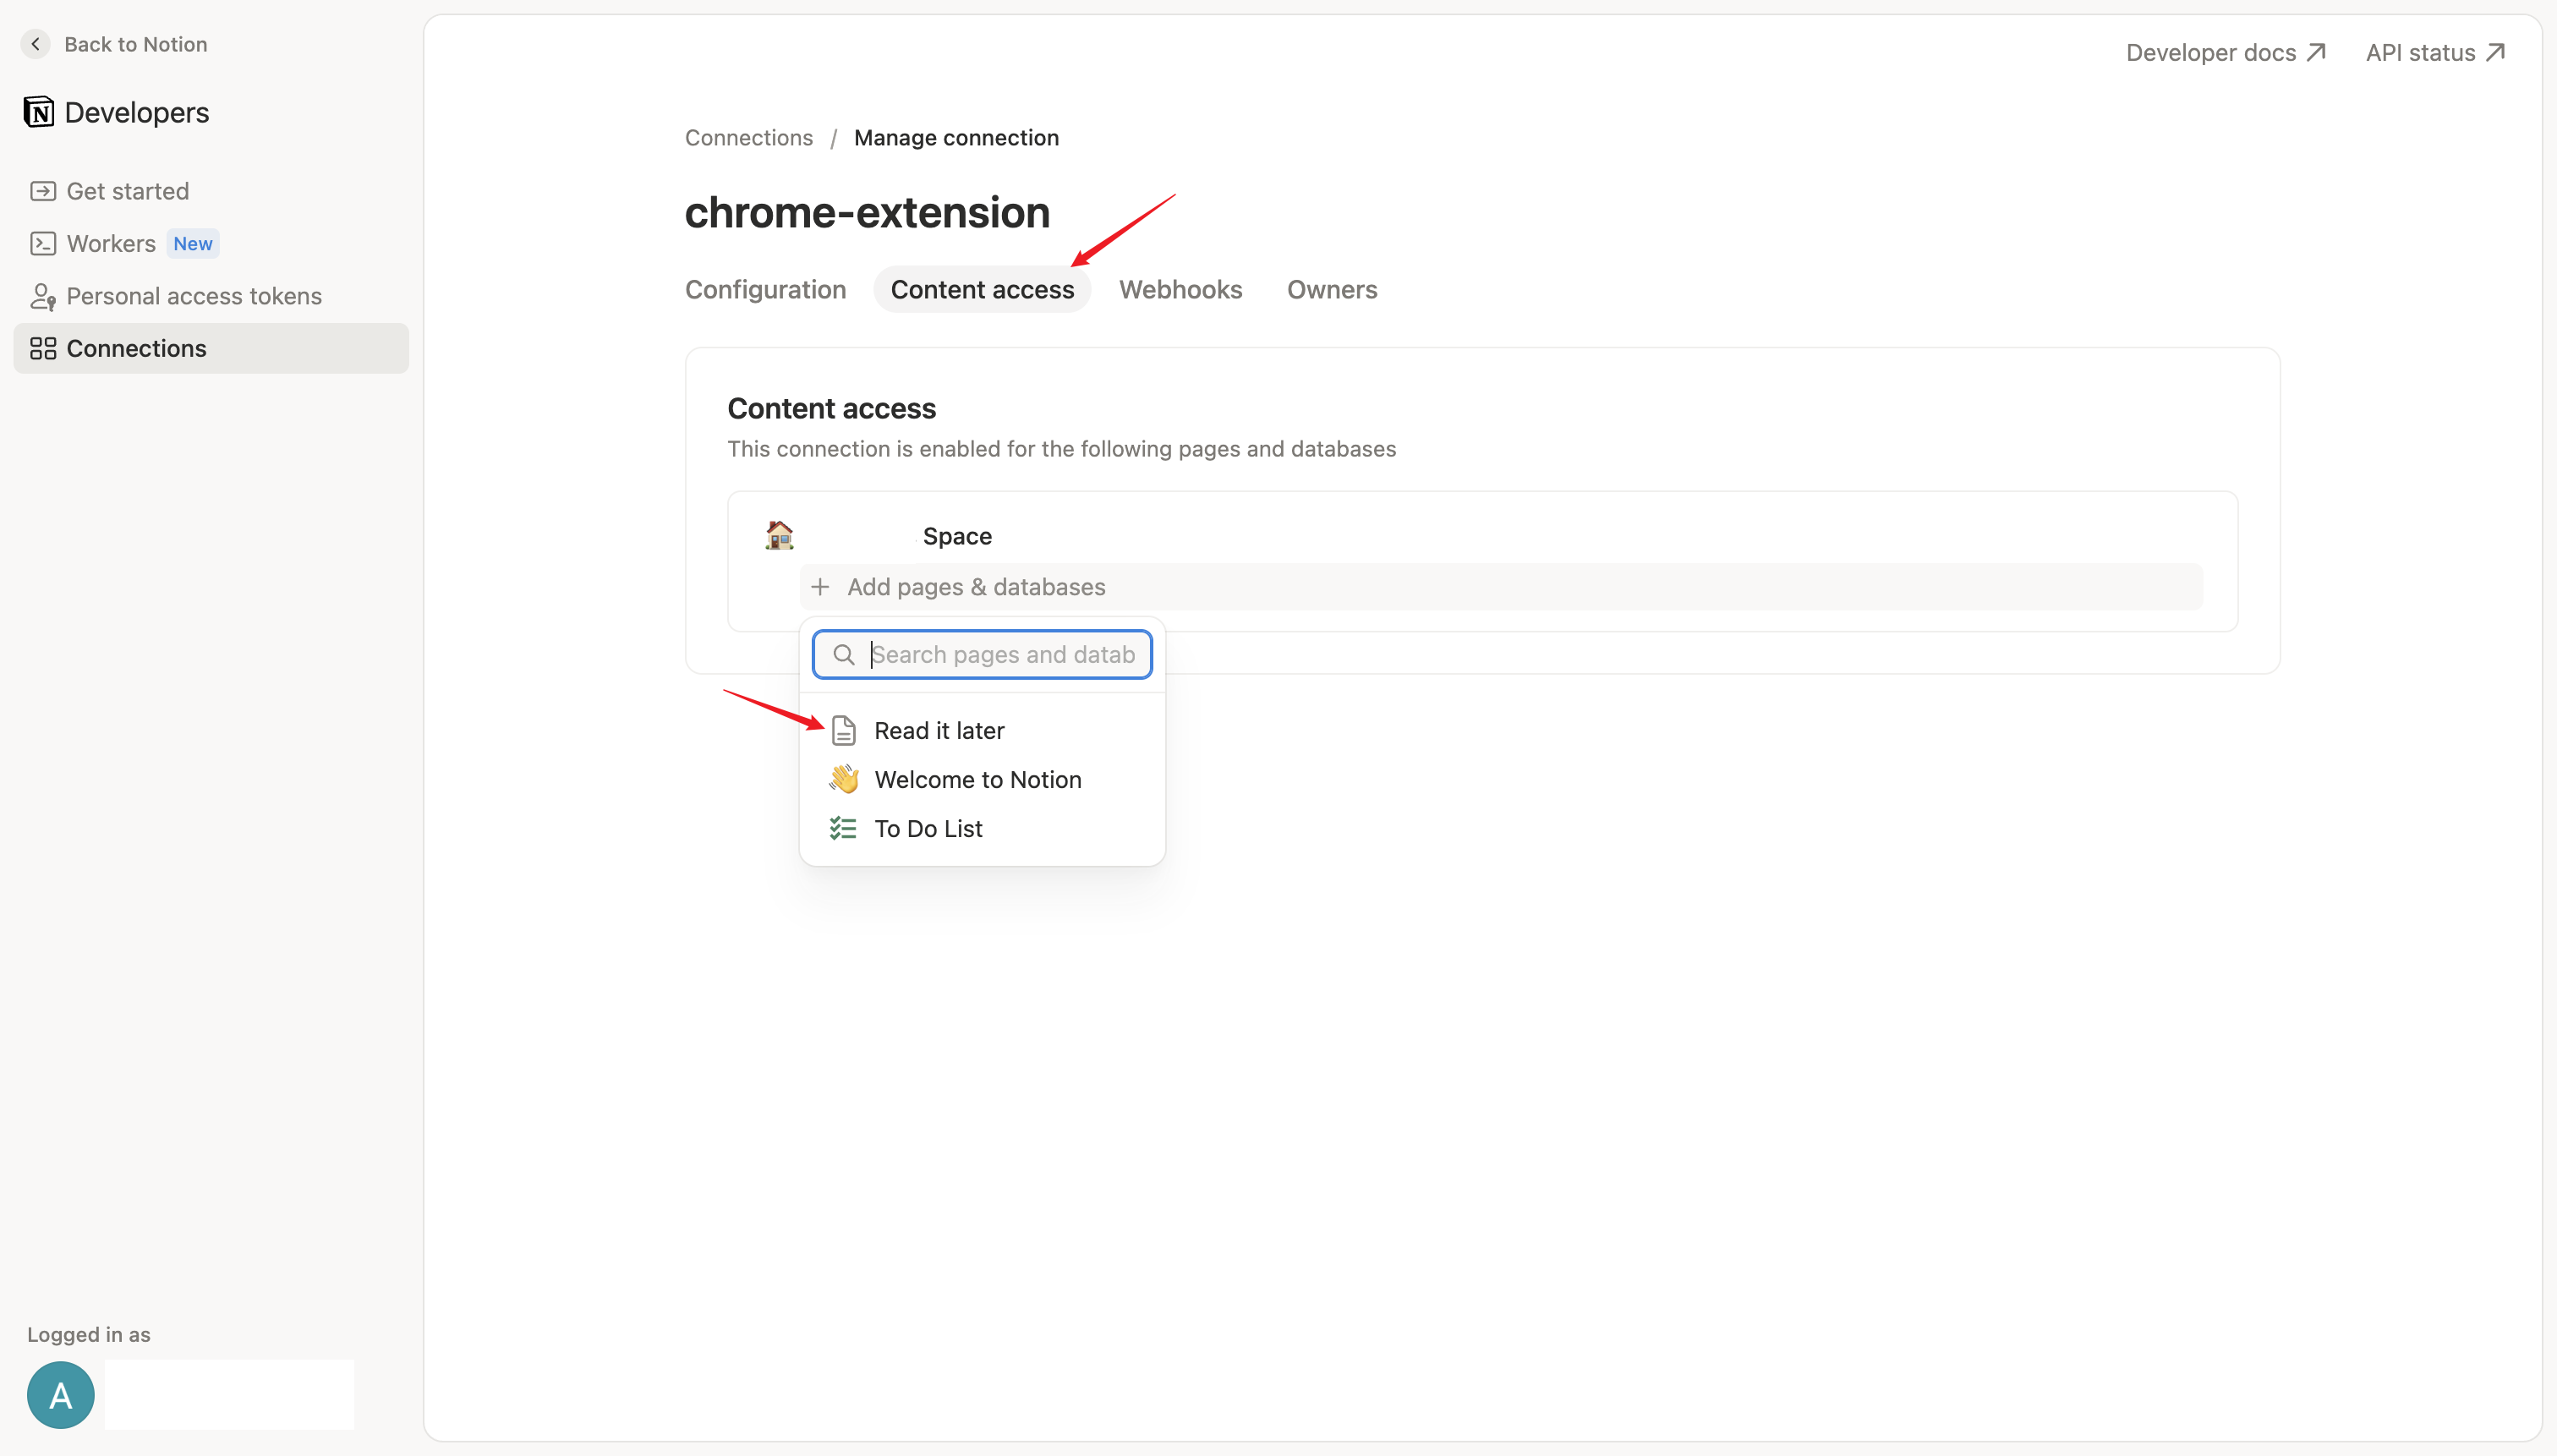
Make sure you have granted page access under the Content access tab in Notion Developer settings or added the Connection on your target Notion page via the top right "..." menu.
Yes, your Token is stored locally in your browser's encrypted storage (`chrome.storage.local`). It is sent directly to Notion's official API endpoints with zero third-party tracking.
Yes! Once your integration token has access to multiple pages, you can easily select or search for any authorized page directly from the extension settings or main popup.
